Target Management
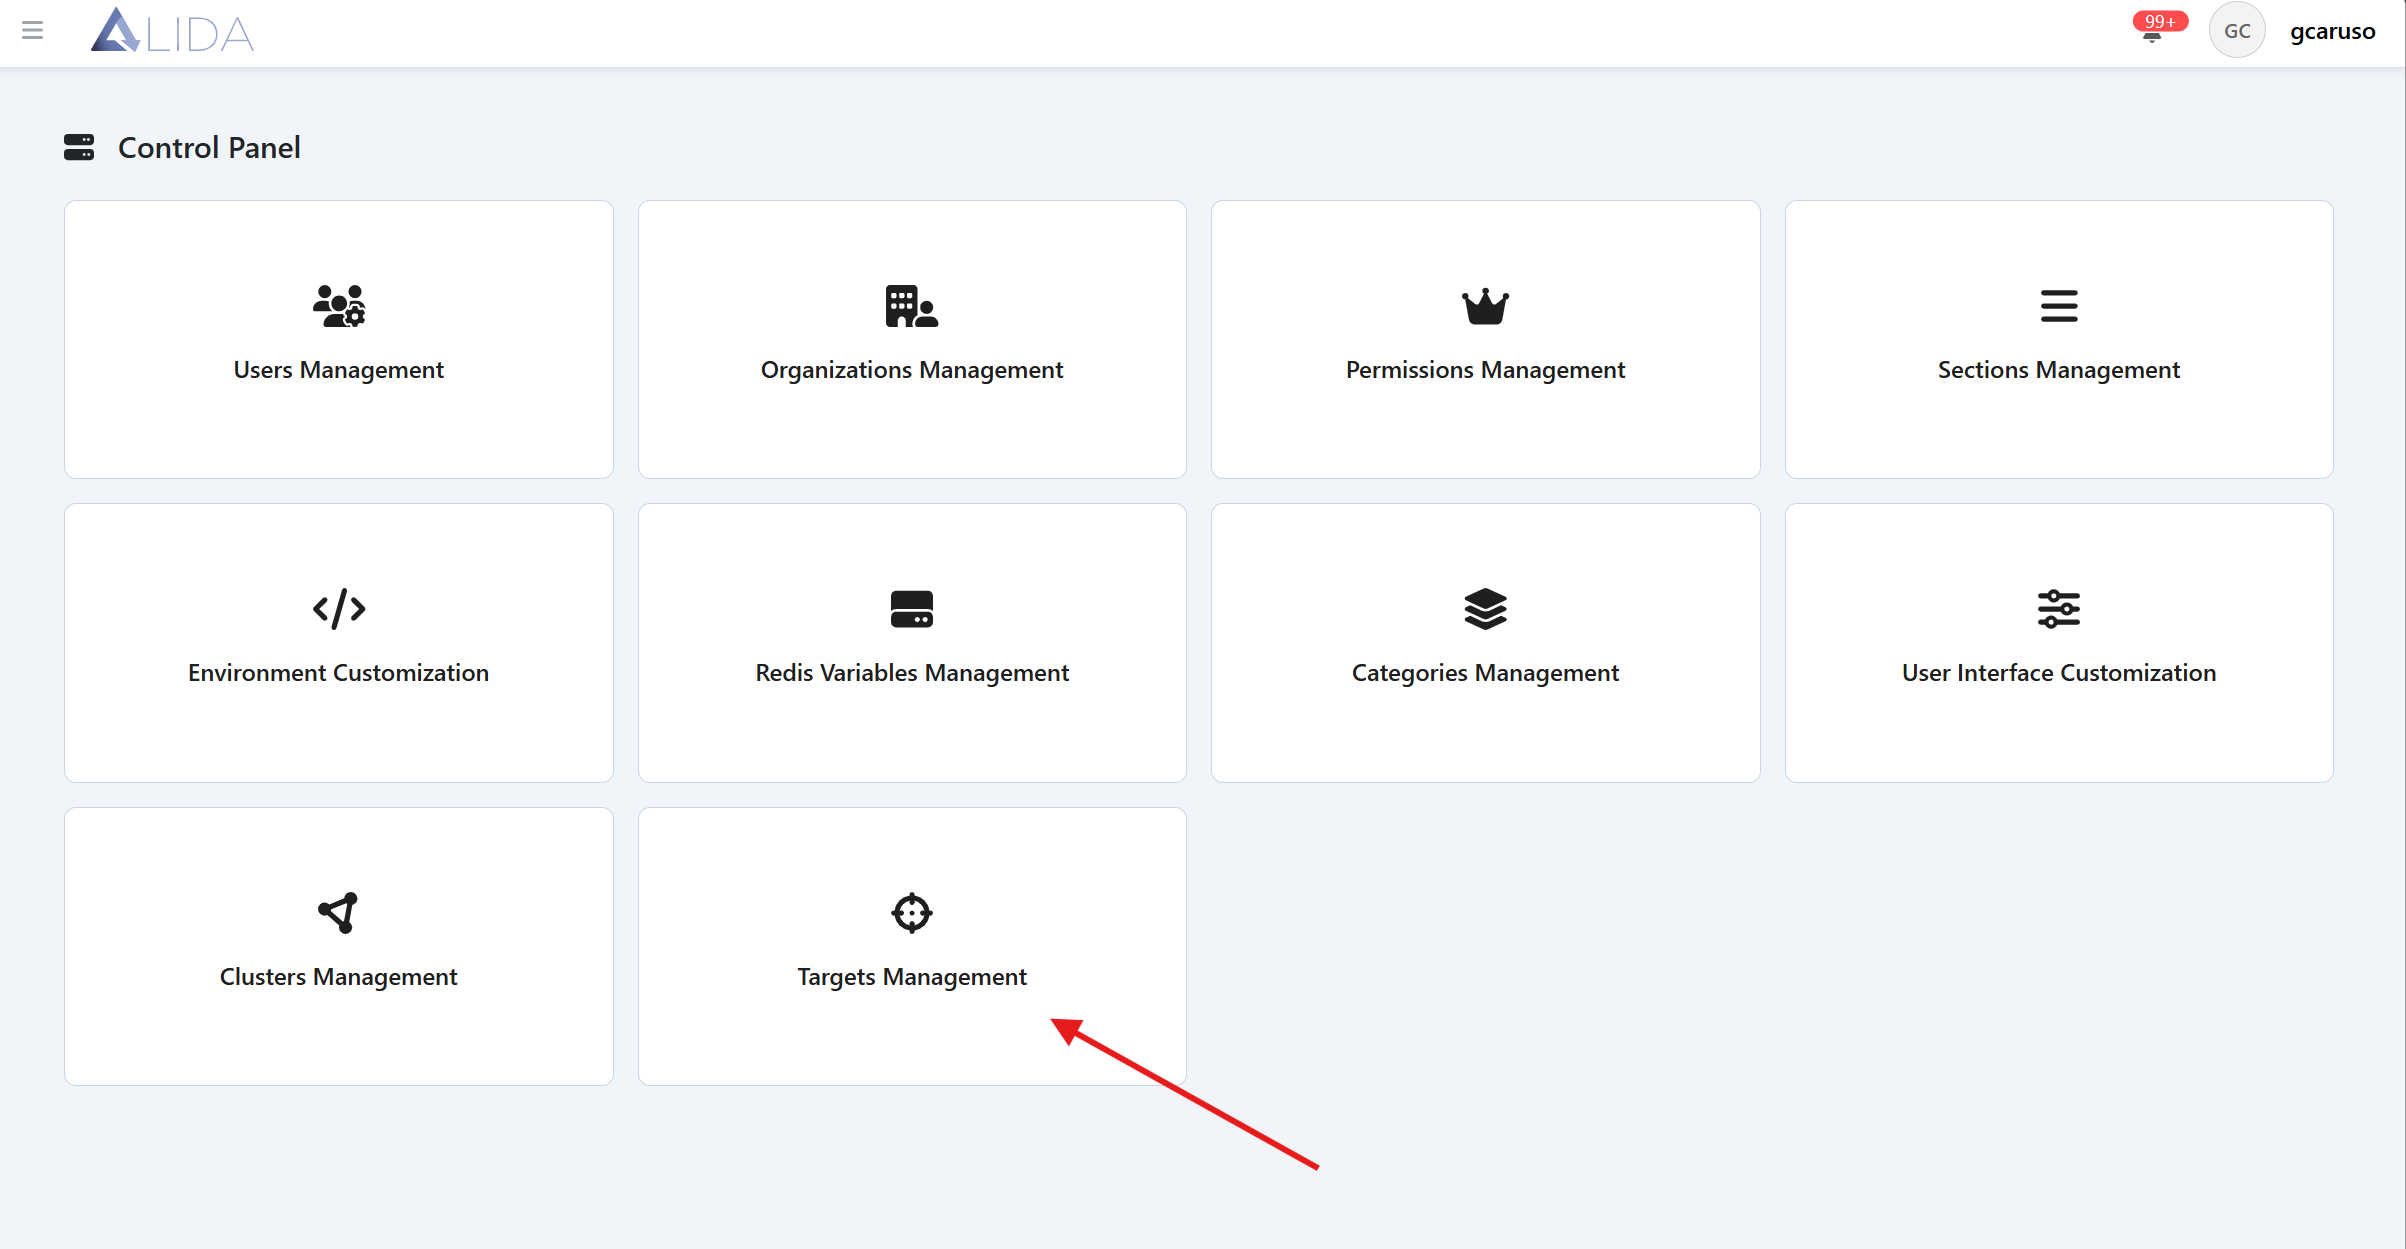
You can access the Target management panel from the control panel page:
Viewing Targets
Once you have opened the Target management panel, you will see the list of available Targets
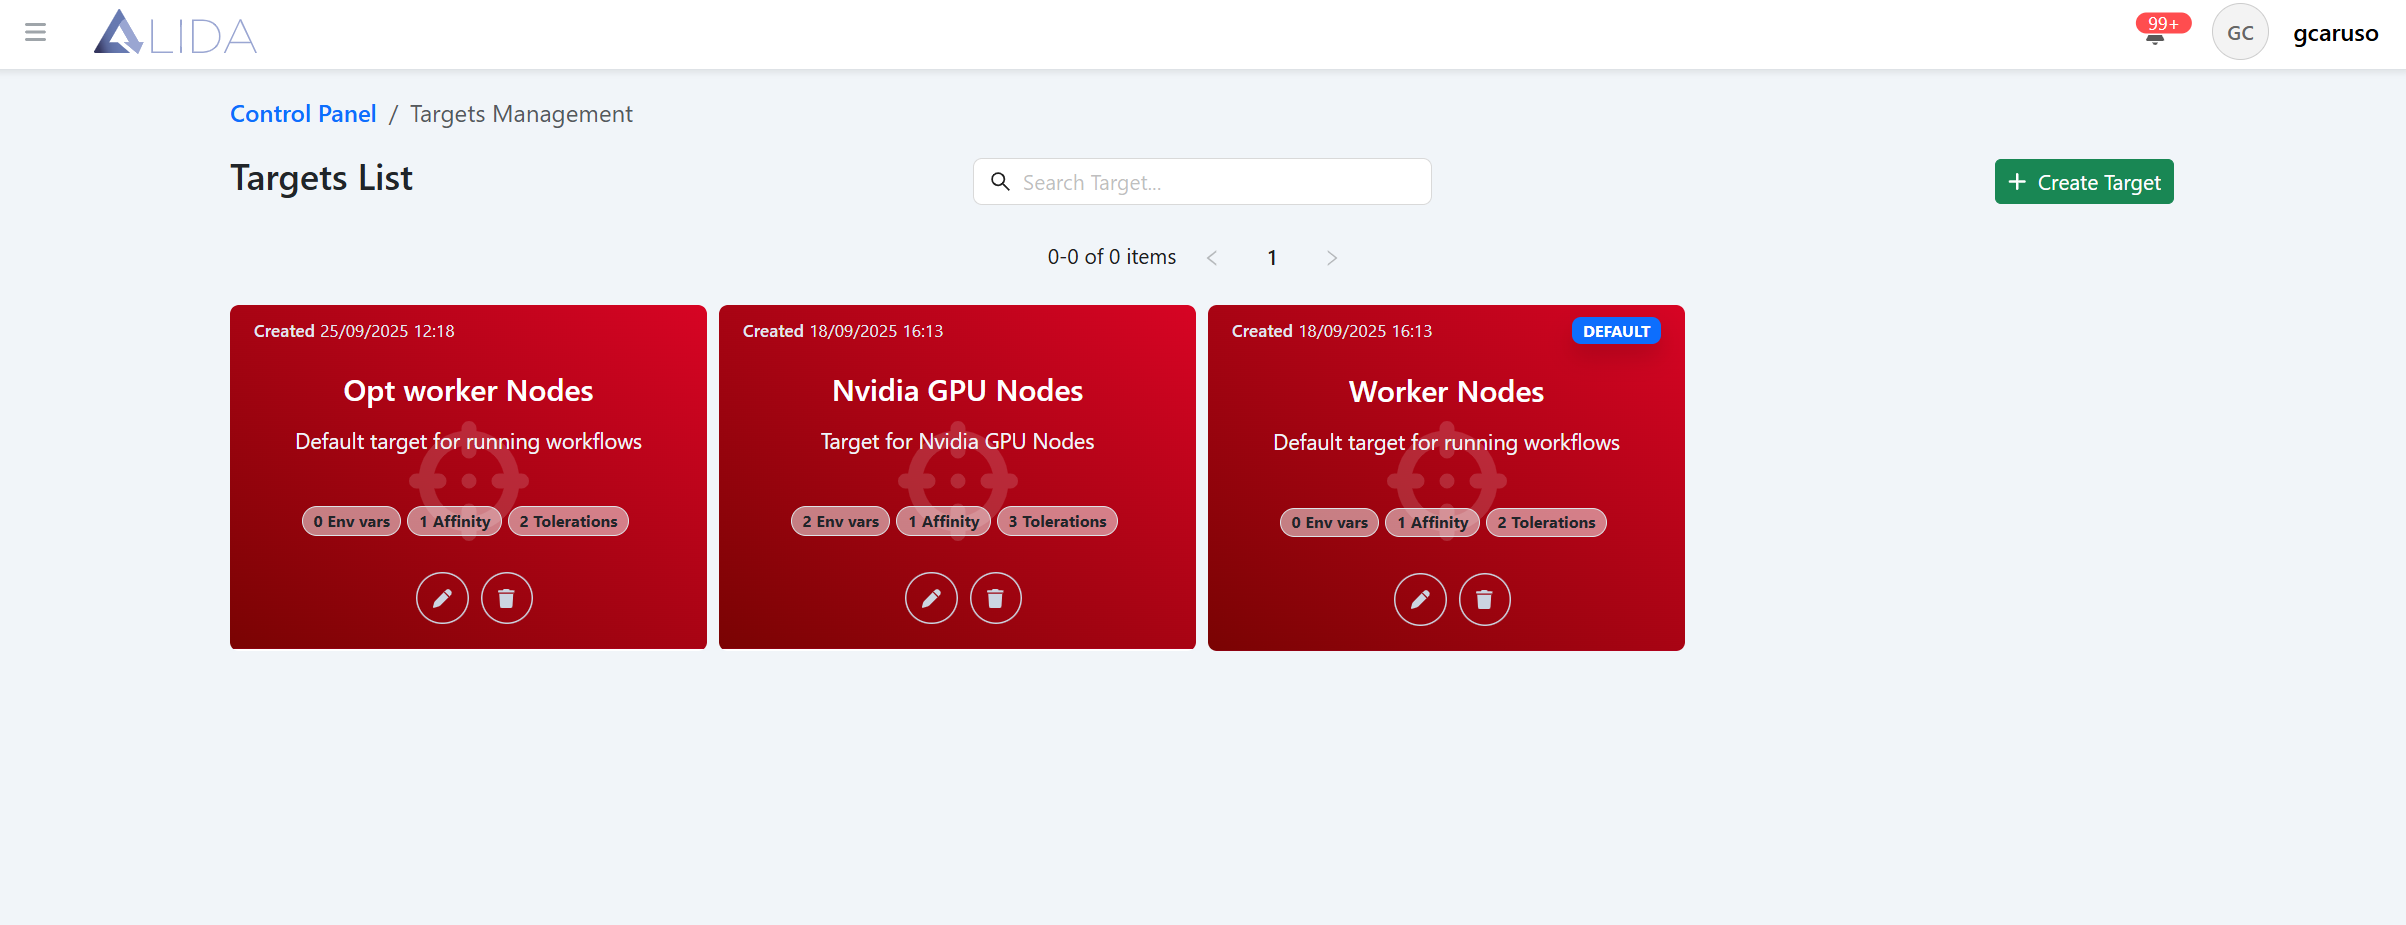
For each Target you can:
| Function | Button |
|---|---|
| Access the edit form |  |
| Delete it |  |
Creating/Editing a Target
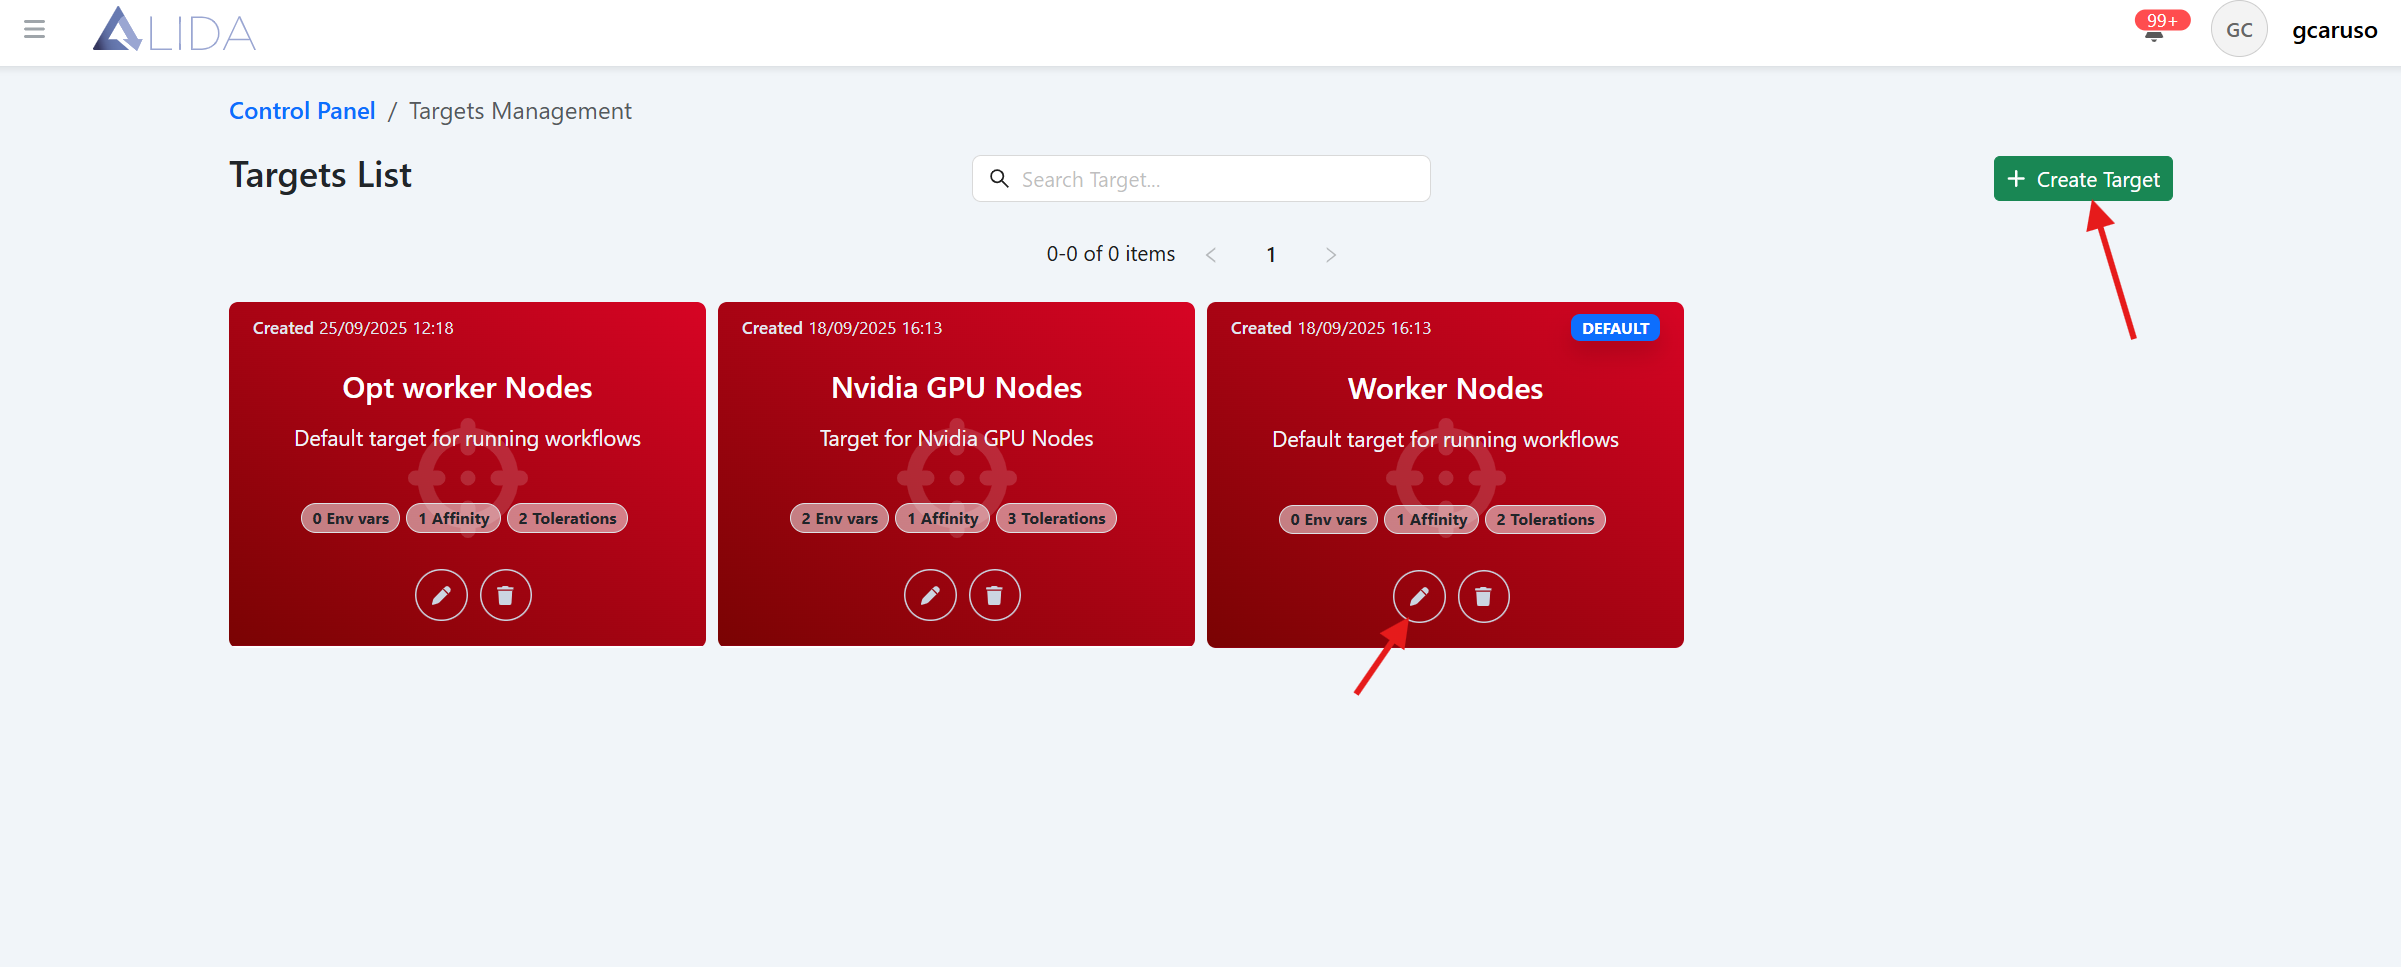
From the Target management page, by clicking the "Create Target" button, or by clicking the edit icon in the Target card, the Target creation/edit form will open:
Here you will be able to specify scheduling constraints and preferences for the Services through a JSON:
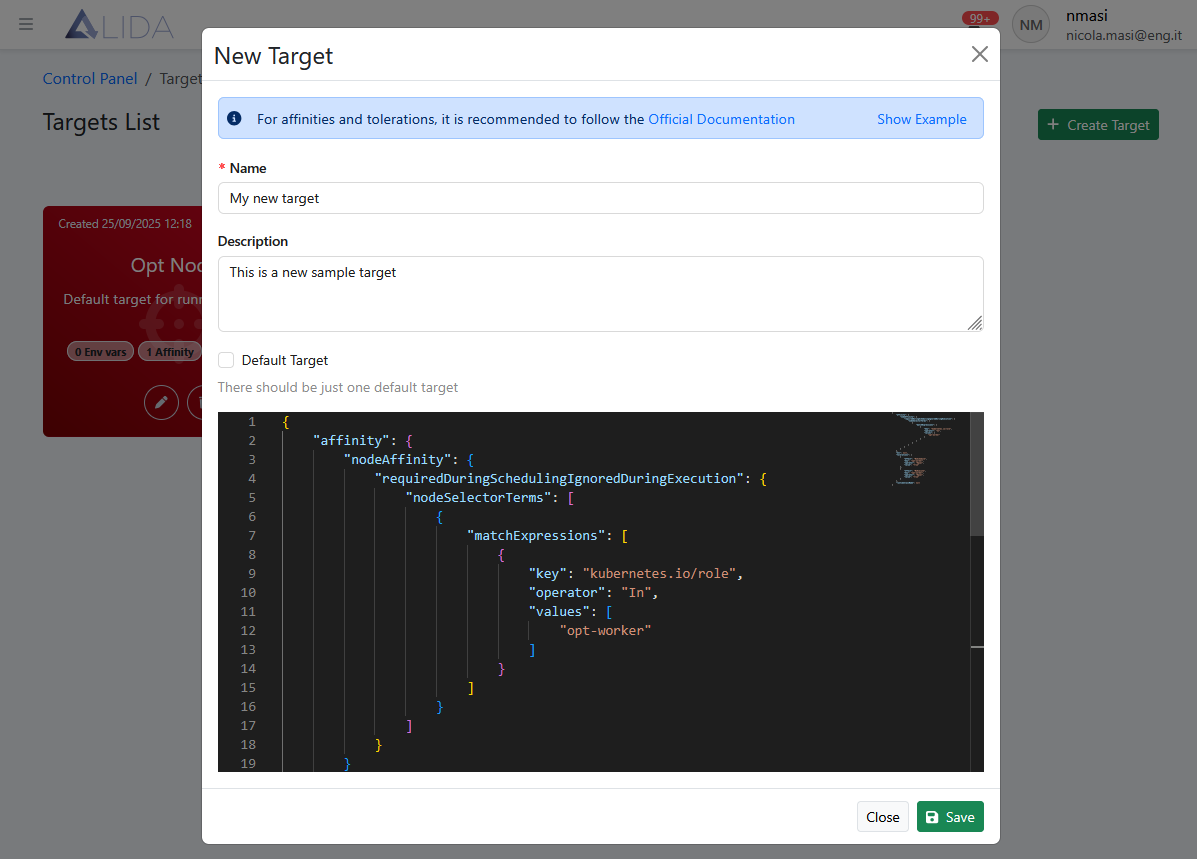
After entering the basic metadata for ALIDA:
- Name: Target name
- Description: Target description
- Default Target: (to make the Target the default or not)
the JSON must contain the following Kubernetes-specific attributes:
affinity: affinity according to the official Kubernetes specificationstolerations: tolerations according to the official Kubernetes specificationsenv: env according to the official Kubernetes specificationsruntimeClassName: runtimeClassName according to the official Kubernetes specifications
These will indicate to the Kubernetes orchestrator which nodes to use for scheduling.
For Kubernetes attributes, refer to the official documentation:
Example Target definition
{
    "name": "Target name",
    "description": "Target description",
    "runtimeClassName": null,
    "affinity": {
        "nodeAffinity": {
            "requiredDuringSchedulingIgnoredDuringExecution": {
                "nodeSelectorTerms": [
                    {
                        "matchExpressions": [
                            {
                                "key": "key1",
                                "operator": "In",
                                "values": [
                                    "value1"
                                ]
                            }
                        ]
                    }
                ]
            }
        }
    },
    "env": {
        "key1": "value1",
        "key2": "value2"
    },
    "tolerations": [
        {
            "key": "key1",
            "operator": "Exists/Equal",
            "value": "value1",
            "effect": "NoExecute/NoSchedule/PreferNoSchedule"
        }
    ]
}